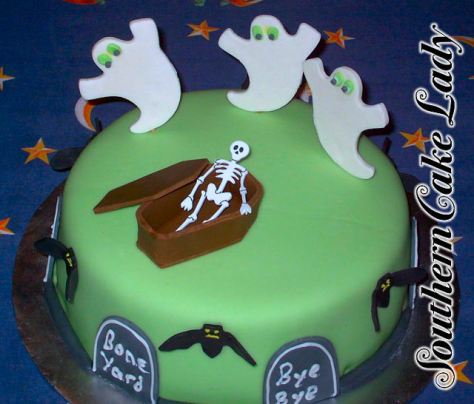
The main focus of this class was adding Gum Tex (tylose powder) to fondant to make it stiffer/harder/sturdier. That’s allow the decorations to be free-standing. The directions from Wilton are to add 1 teaspoon of Gum Tex to 12 ounces of fondant. When you’re making gum paste this way, you need to work fast because this stuff dries very quickly and hardens quite well. It can be reworked by adding lots of shortening and/or water but avoid that if you can. Work in small bits!
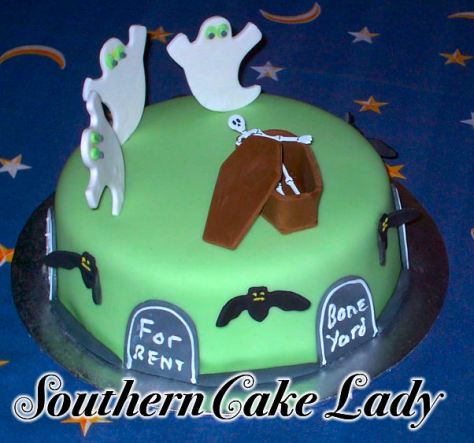
As always, I started working a few days before the cake was needed. Time for the decorations to dry thoroughly, you know. (4 days in this case) The first thing was to make the coffin. I kneaded a small ball of fondant until it was soft and pliable then started adding brown gel color until I got the shade I wanted. Then I sprinkled a small bit of gum tex on the it and worked that in. I’m not big on measuring so I usually sprinkle a light dusting of powder on the fondant and work it in. I don’t worry about adding too much because no one’s going to eat these decorations so who cares how it tastes! I used a cookie cutter to make the bottom of the coffin and the lid. Then I measured around the edge of the bottom and cut a piece of fondant to use for the sides. I like to use vanilla extract for my adhesive so I brushed it on the base and set the sides on it. It’s just one long strip that I pinched on the sides to make the coffin shape. The gum tex makes it sturdy enough to stand on its own. The little skeleton was a plastic decoration I found at the craft store.
The next bit to do was the ghosts. They’re fondant and gum tex kneaded together just like the coffin, then rolled out and cut with a cookie cutter. When I work with cookie cutters, I end up with a little ragged edge on the bottom. I like to use the at edge of an offset spatula to rub it away. You can’t really see the ragged bits but you can tell when they’re gone! So I cut the ghosts out, stuck a toothpick in the bottom so they could be inserted in the cake later, and laid them out to dry. I turned them over every day so they would dry better. Repeating the fondant/gum tex combo, I made the tombstones. After rolling out the fondant, I traced the tombstone shape on paper and then cut it out of the fondant. They went next to the ghosts for drying. The bats were made with a cookie cutter. I put them in the flower former trays from Wilton so they would dry with their little wings curving up.
Three days passed and then I baked, iced, and covered the cake in fondant. The tombstone inscriptions and bats facial features were piped with royal icing and set aside to dry. I colored some fondant gray and rolled out the edge/border for the round cake. The ghosts got stuck into the cake and the tombstones got attached. The bats were a bit trickier to attach. I used vanilla extract as my adhesive, brushing it on the decoration with a small paint brush. I dabbed it lightly on the bats and then held them in place until the extract was completely dry and the bats were stable. Then I packed it up and went to class to show off!
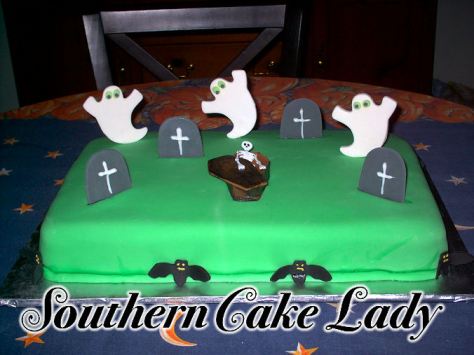
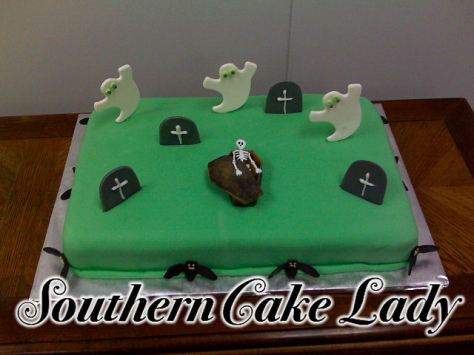
I don’t remember why hubby was having a Halloween luncheon at his company but they were so I made another cake for them. I recycled the ghosts and bats. I made new tombstones because I didn’t like some of my piping on the old tombstones. Perfectionist. Nit-picky. Obsessive. Pick one, they all apply to me! Other than the edge border being green instead of grey, everything else was done the same as the first cake.


